A very nice day today. Not the best photo angles, but we finally got to a stage in the construction where a little work shows a lot.
Steve Z., J.B, and Milo cutting the rafters.
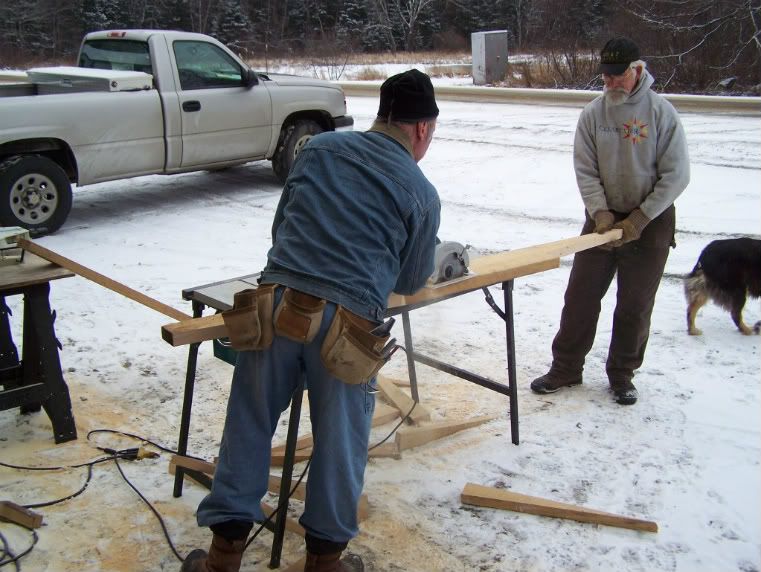
Some cut already, with other lumber for the car.
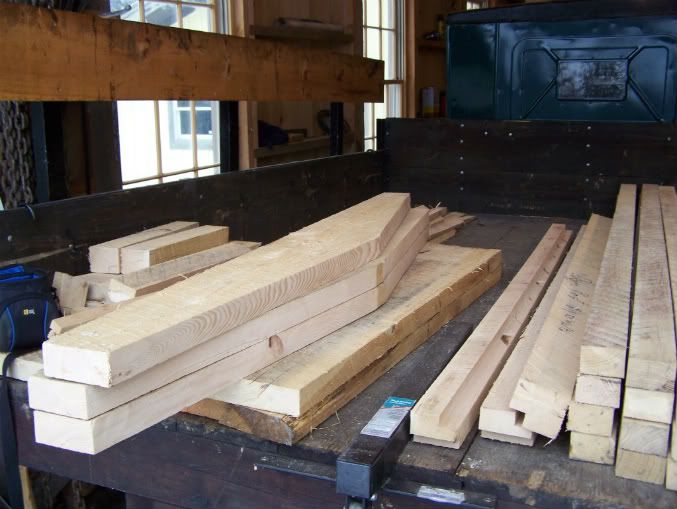
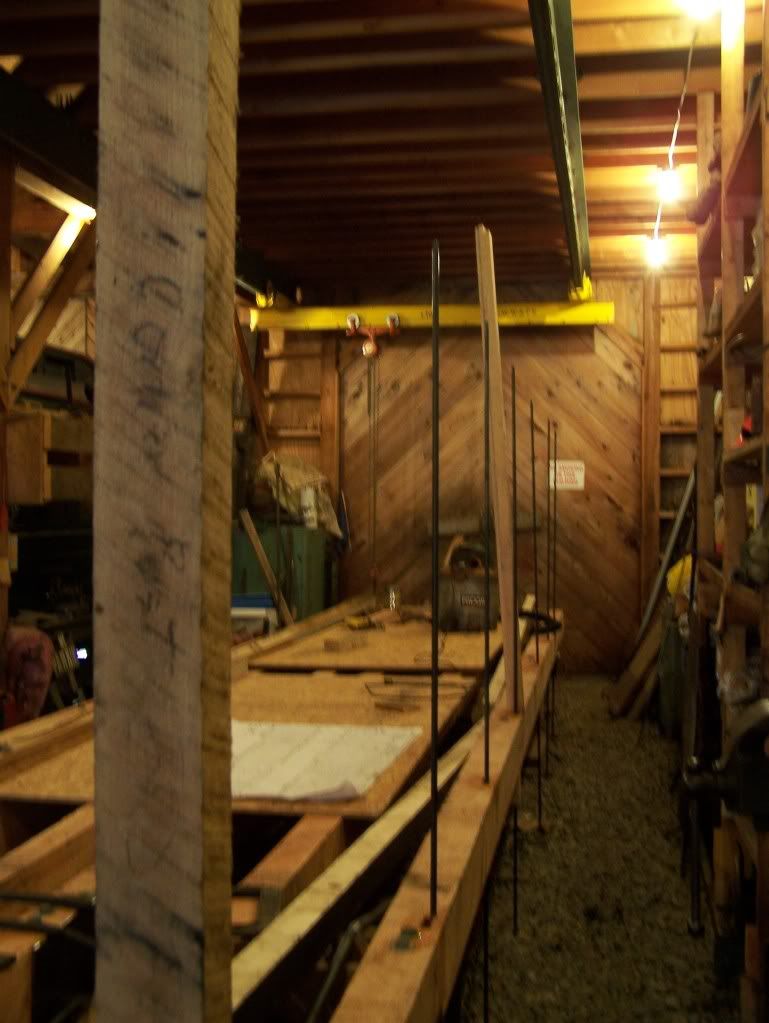
Getting things ready.
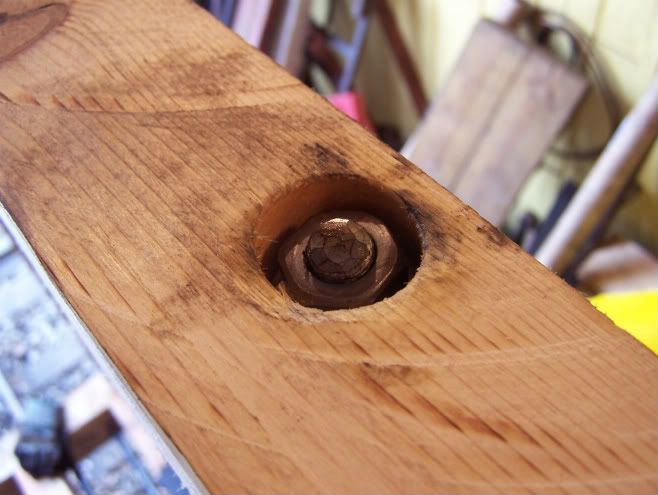
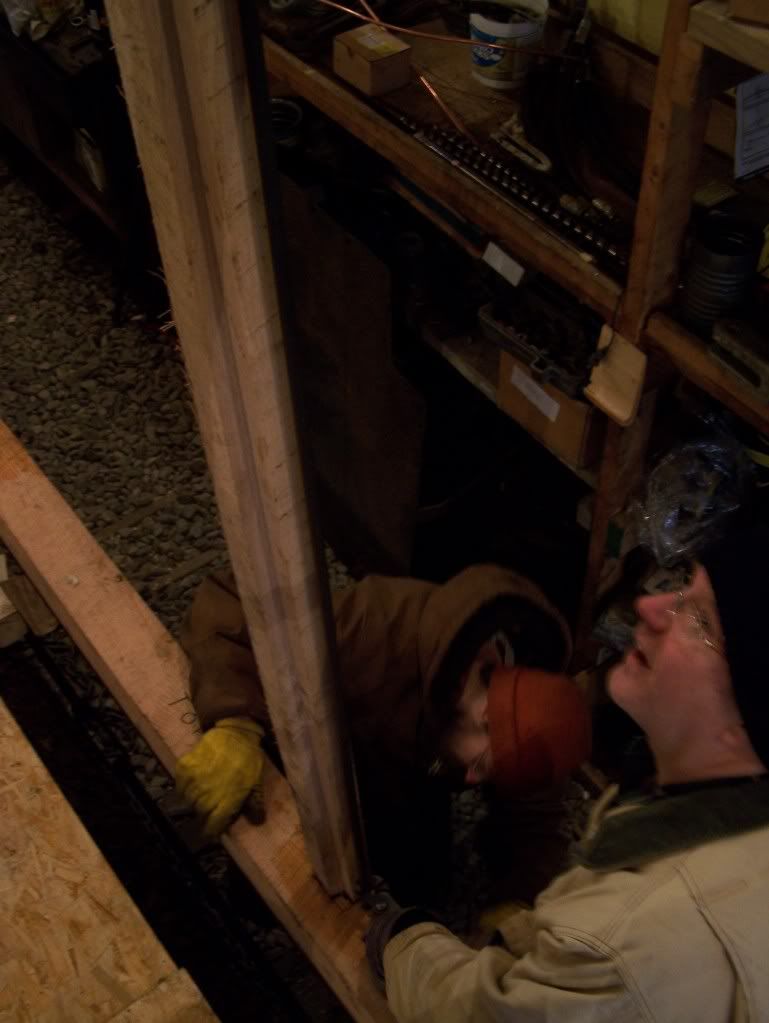
James and Stewart tightening the rods
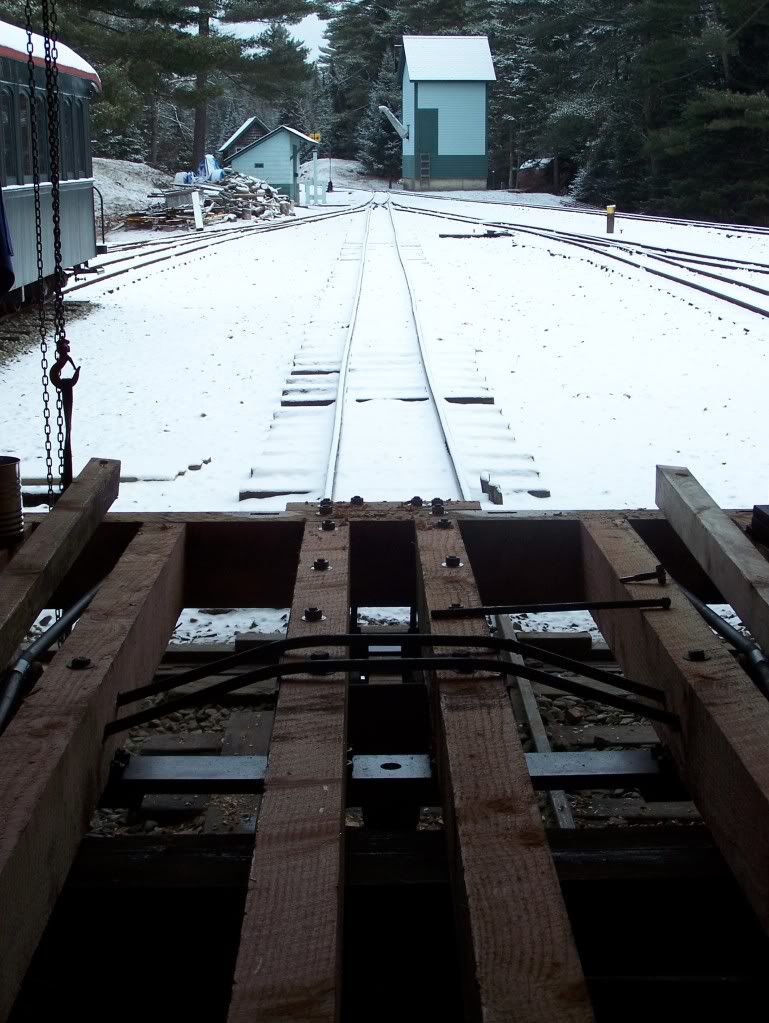
Light dusting of snow for a little scenery
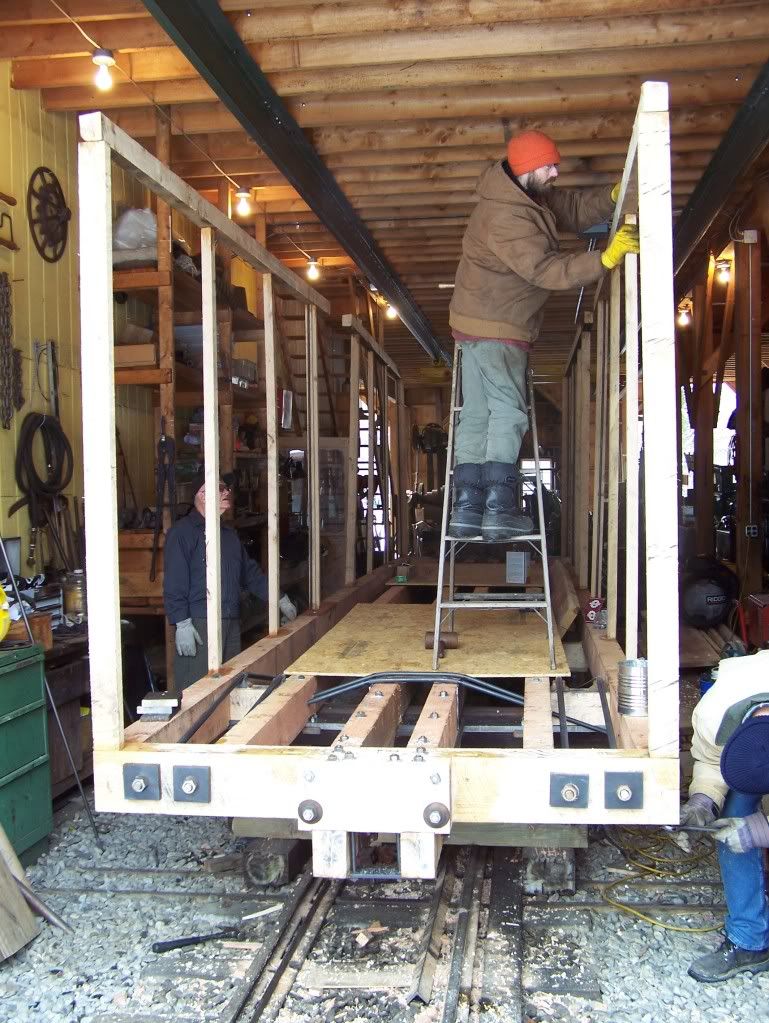
Before lunch, we had the 4 walls up. James is peening with a ballpeen hammer.
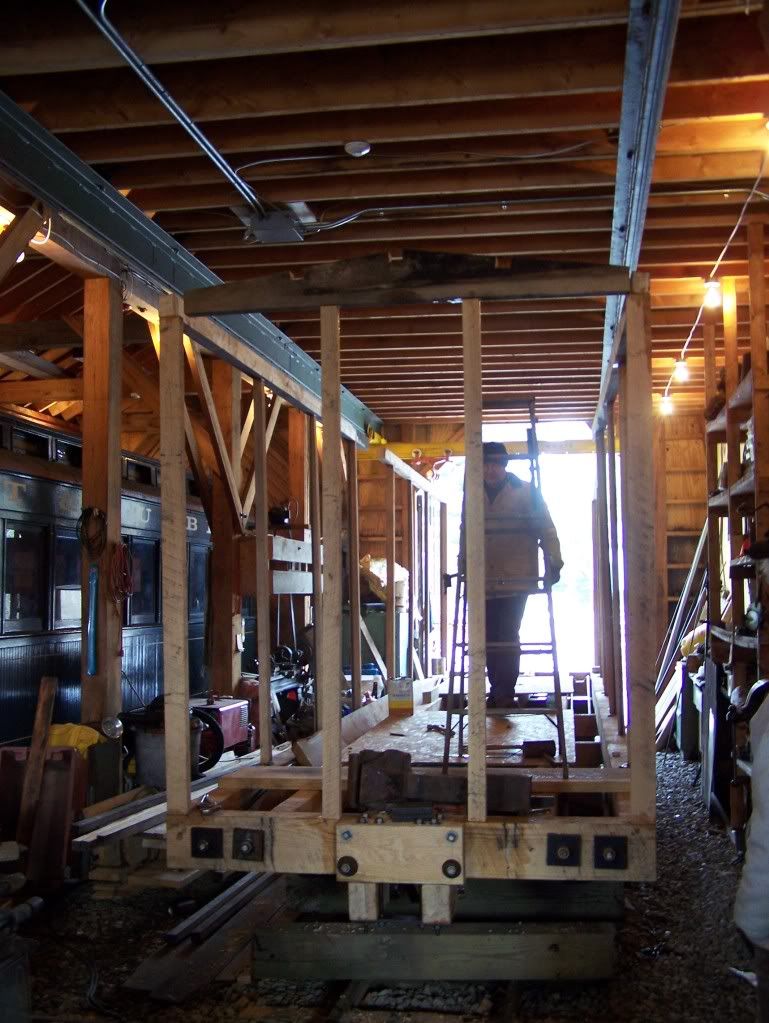
South End wall
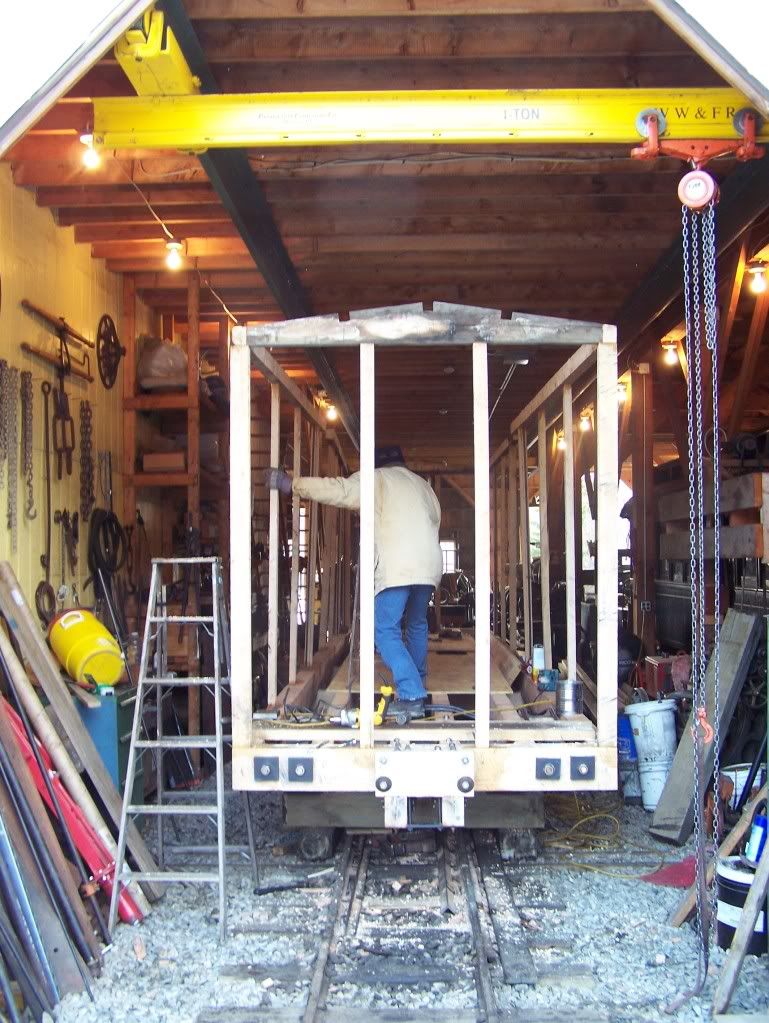
North End wall
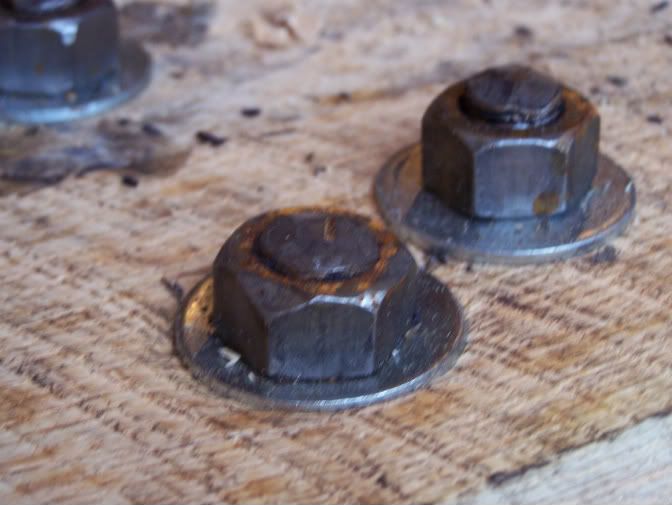
A couple of the nuts I peened.